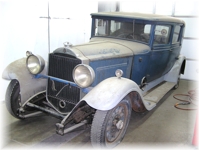
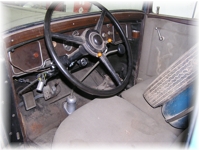
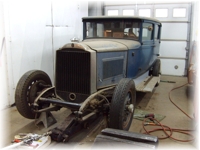
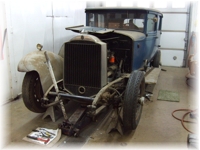
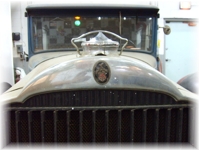
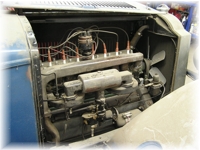
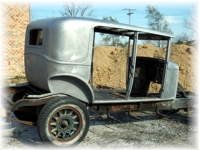
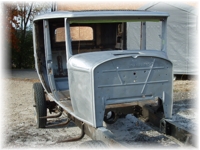
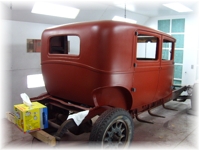
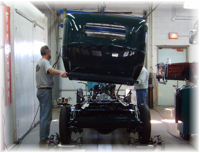
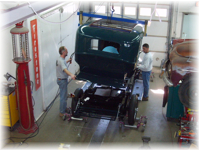
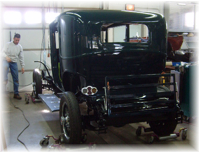
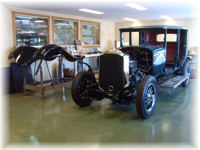
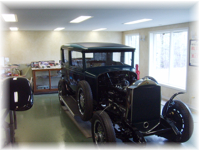
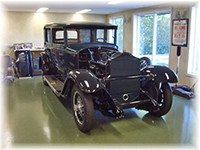
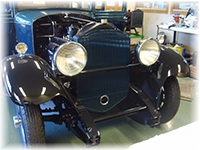
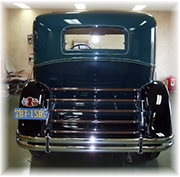
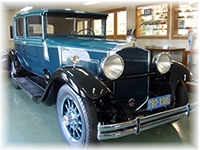
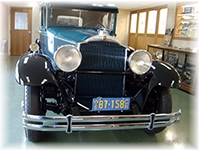
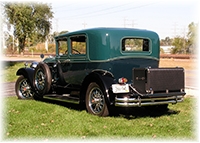
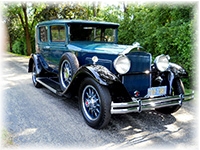
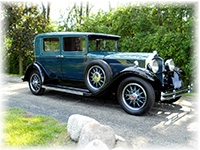
This 1931 Packard has just arrived for a frame-up restoration. These photos show it's current condition and the beginning of the disassembly process. This car is in extremely good condition and very complete. It has a straight 8 cylinder engine, dual side mounts, trunk and luggage rack.
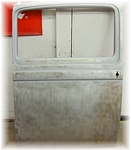
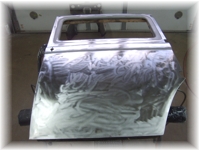
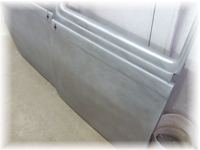
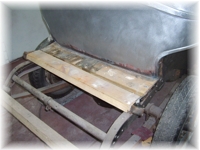
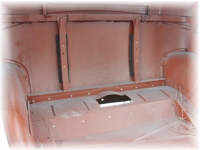
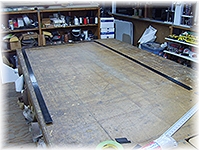
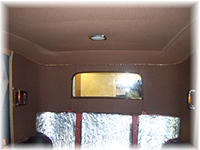
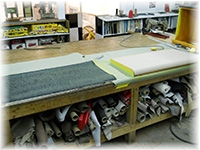
The first 3 photos left to right, show the door stripped to bare metal. The rust is removed from the pitted steel and the reveals in the door have been sandblasted. The bottom 3 photos show the inside of the body before the new wood is created and the old wood from the trunk that will be replaced.
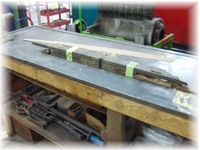
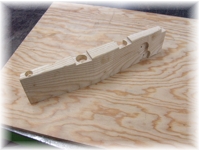
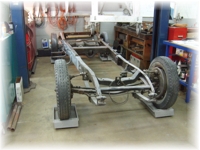
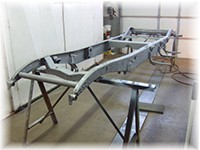
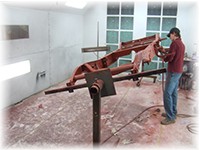
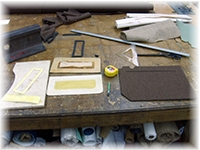
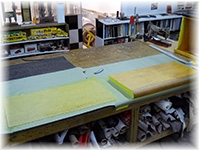
The first 4 photos left to right, show new wood created for the trunk and then primed. The 5th photo shows the new wood for the interior and the last photo is the bare chassis ready for stripping.
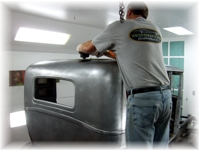
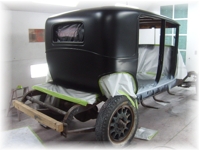
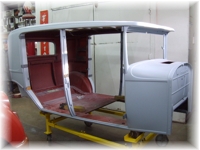
The photos on the left and right show the body after being chemically stripped and the body after having the jams and reveals blasted. The 4 photos below show the body being sanded in preparation for the epoxy primer, the primer applied, the primer surfacer over the epoxy primer being sanded, and the application of the epoxy sealer over the surfacer.
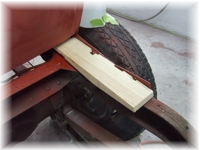
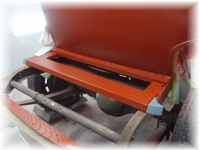
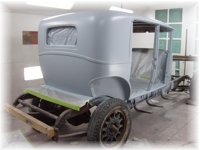
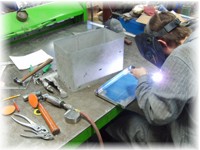
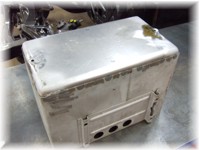
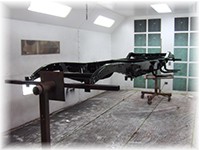
The photo on the left shows the application of the final primer coat and the photo on the right shows the body ready to be sanded for color. The left two photos below show the fabrication of a new bottom to replace the rotted bottom on the battery box and its installation in the box. The third photo from the left below shows the chassis after the sandblasting is completed. The last photo bottom right shows the engine crankcase painted.
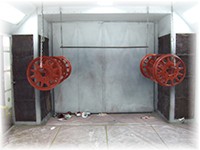
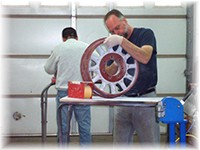
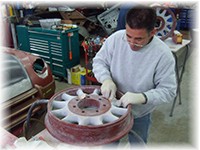
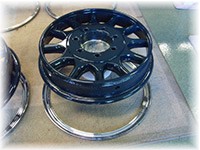
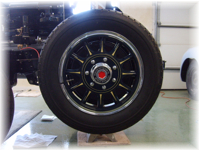
The top photos left and right and left below show the wheels in primer and then being sanded. The next photo shows the the wheels painted and ready to get tires. The bottom two right photos show sanding of the imperfections of the chassis and then final painting.
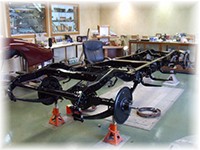
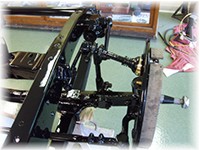
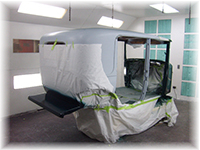
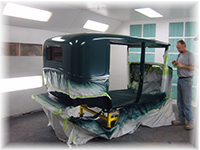
The photos left and right show the assembly of the chassis and the details of the front suspension. The bottom left photo shows the engine installed on the chassis. The last three photos in this group show the body being prepped for paint, the painted body and the painted fenders.
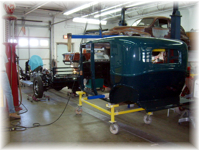
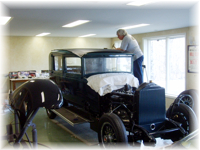
In this group of photos the top left, top right and bottom two photos on the left show the body of the Packard being installed on the chassis. The last two pictures in the group show more assembly of the car and the pin striping done on the wheels.
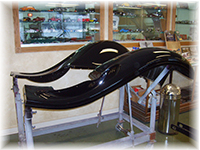
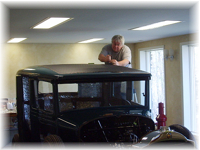
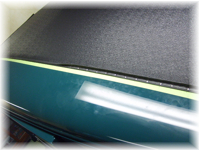
The first four pictures in this group from left to right show the top trim and installation and the finished top. The third photo on the bottom shows the installed front fenders. The last photo on the bottom is the installation and testing of the front lighting.
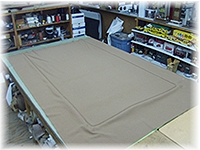
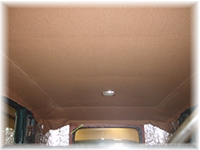
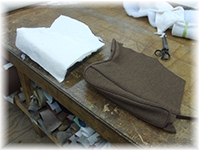
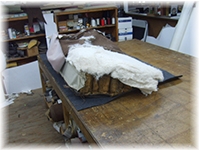
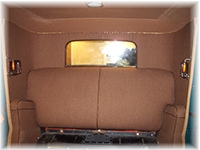
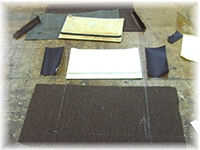
In this group of 6 photos the first four photos show fabricating the tack strip to be sewn as part of the headliner, the headliner supports sewn in place, the headliner ready for installation and the headliner completely installed. The last 2 bottom photos show the rear panel fabricated for the back seat and ready to be upholstered. The rear panel is upholstered with a cigar lighter vanity and assist handle installed.
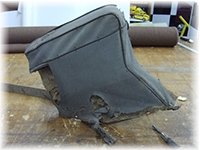
The photo top left shows the rear seat panels completed and ready for the rear seat. The photo top right shows the original armrest to be duplicated. From the left the bottom three photos show the armrest with new padding and ready to receive its new cover, the rear seat backrest seat cover pieces ready to be sewn together and the backrest cover being installed. The last photo on the bottom shows the backrest and armrests installed.
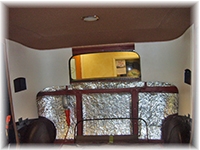
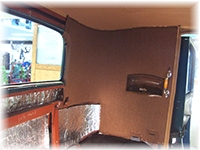
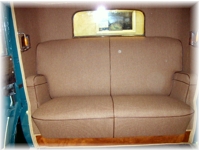
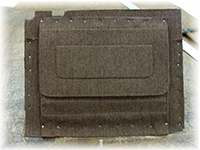
The photo on the left shows the backseat, armrests and headliner finished. The photo on the right shows the original door panel de-constructed. The bottom 4 photos show from left to right the rear door pocket components being fabricated, the completed door pocket ready to be attached to the rear door panel and the view of the backside of the rear door panel with the pocket installed.
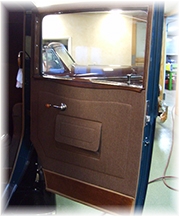
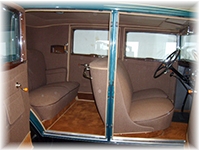
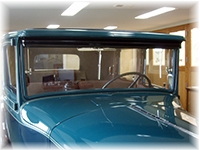
The photo on the left shows the finished rear door panel installed. The photo on the right shows the completed interior from headliner to carpeting. The 4 photos below show the back of the car completed, the front of the car in the final phase of assembly and the view of the trico visionall windshield wiper system. This very rare windshield wiper is unique. It sweeps from side to side as opposed to an arc like most other wipers.
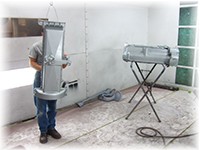
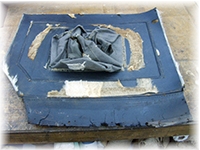
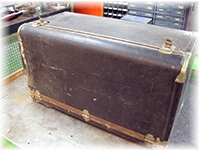
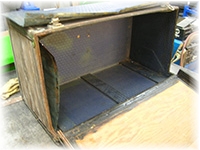
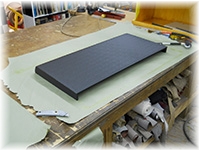
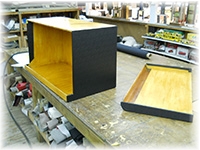
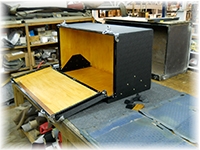
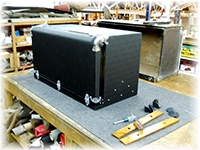
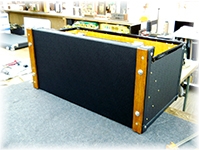
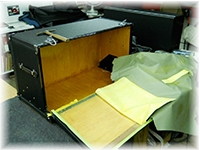
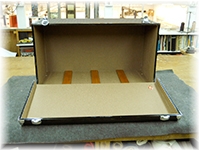
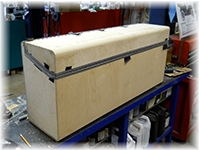
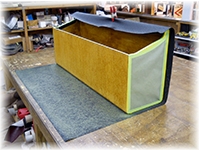
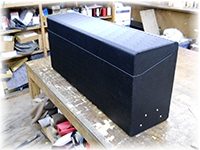
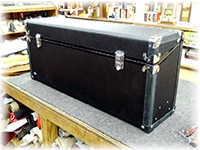
These 2 photos left and right show the beginning of the Packard luggage trunk restoration. This trunk was considered the man's trunk. We've used the old hardware but created a new box.The next 2 rows below show the inside of the original trunk, the new wooden box, fitting the new trunk box to the luggage rack and the process of putting sealer on the plywood and the long grain vinyl being applied to the exterior.
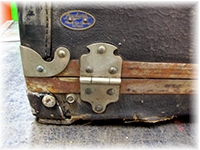
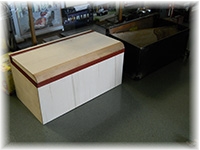
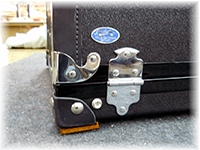
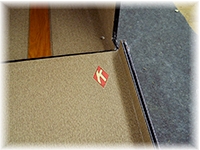
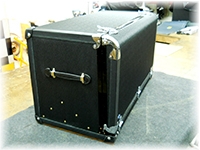
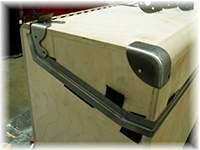
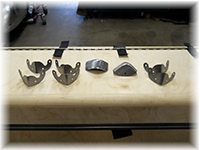
The photos in the these 4 rows show the process of restoring/recreating both the man's and ladieies trunks. In this row, the next row and the 3rd row two left photos show the inside of the man's trunk box varnished, the custom made leather corners ready to be applied, the wood mounting rails on the bottom of the trunk, the chrome plated original hardware and emblem installed and the interior liner installed with the manufacturers insignia duplicated for the interior. The last 6 photos in row 3 & 4 show the ladies trunk which is longer and thinner going through the same process. All matching hardware is test fitted and ready for plating before any long grain vinyl is applied. The last photo in the group shows the ladies trunk completed and ready for installation on the car.