1954 Arnolt Bristol |
|||
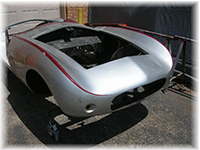 |
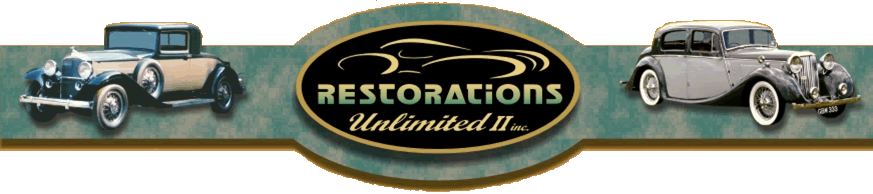
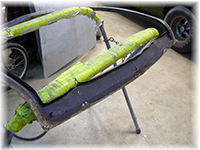
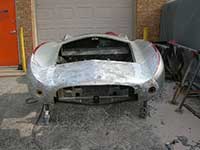
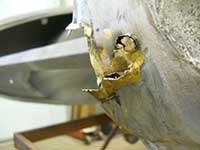
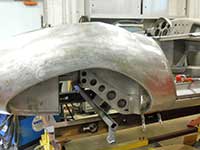
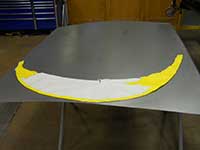
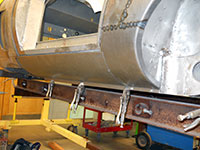
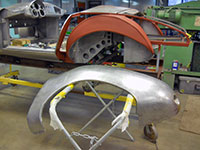
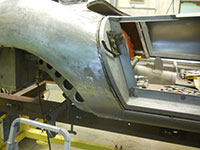
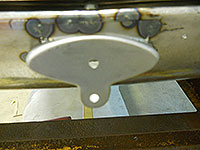
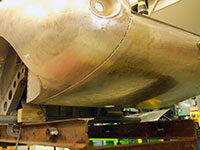
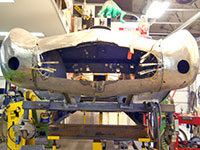
What made this 1954 Arnolt Bristol distinctive were its details to the dash and guage cluster. The car was based on a Bristol car chassis and the body was built by Bertone of Italy for "Wacky" Arnolt of Chicago. The photos left and right show the arrival of the car. The 4 photos below show repairs to the door damage. |  |
|
 |
 |
 |
 |
 |
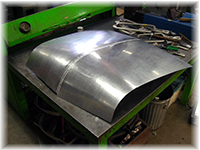
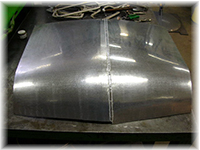
The photos left, right and the first 2 below show repairs to the damaged doors. The next photo shows the trunk lid skin has been removed to facilitate repairs. The last photo as well as the left photo in the next group show the fabrication of the new trunk skin. | 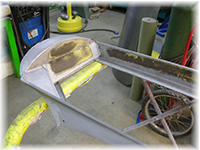 |
|
 |
 |
 |
 |
 |
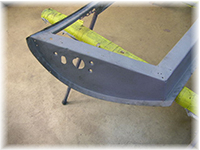
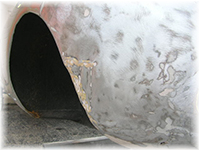
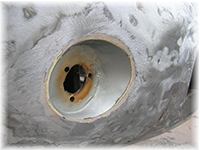
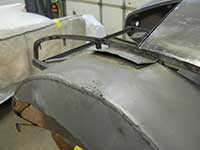
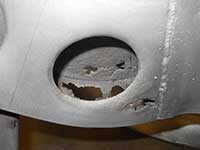
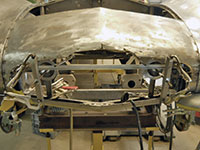
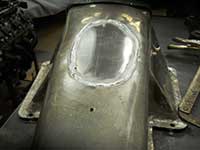
The photo right and the first 2 photos below show the various damage to the nose which was uncovered after the car was stripped of excess filler. The last 2 photos show more damage revealed as paint is removed. | 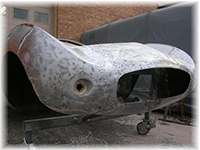 |
|
 |
 |
 |
 |
 |
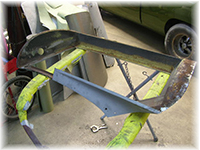
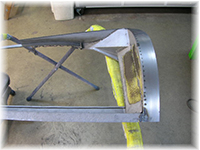
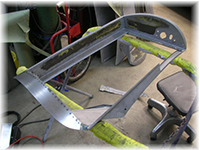
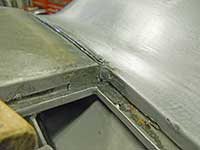
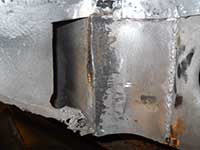
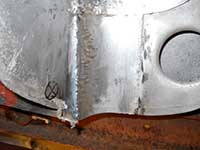
The photos left and right show the beginning of repairs to the rocker panels. The first 2 below depict the extreme un-craftsman like repairs previously made. The next shows the beginning cuts to remove the right rear fender. The 4th photo shows the right rear fender removed. |  |
|
 |
 |
 |
 |
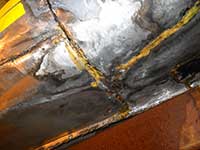 |
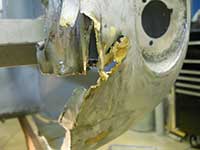
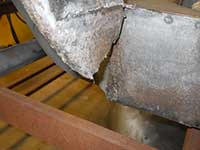
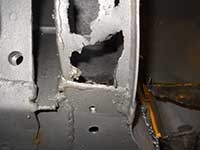
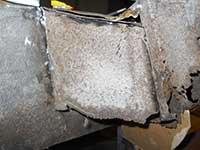
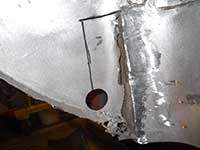
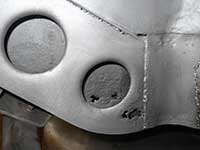
The photo left shows sloppy brazing previously done. The photo right shows the rotted inner structure at the base of the right door post. The 4 photos below are showing various rot holes in the chassis and rocker panels. | 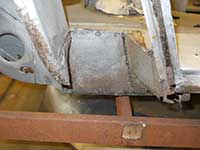 |
|
 |
 |
 |
 |
 |
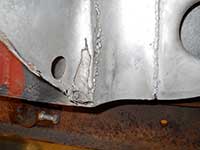
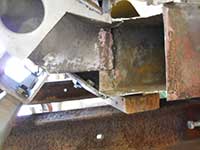
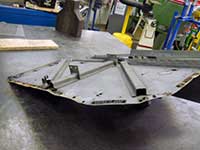
The photos left and right show the completely rotted away body inner structure. The 4 below show how part of the rotted chassis is repaired from beginning to end. |
 |
|
 |
 |
 |
 |
 |
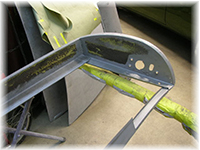
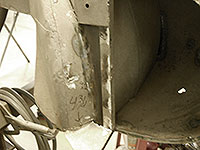
The left photo shows the rotted inner fender attaching tab at the trunk opening. The photo right shows the rotten tab removed and the new tab welded in place. The bottom 4 show the repairs to the right rear fender opening from start to finish. | 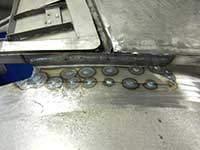 |
|
 |
 |
 |
 |
 |
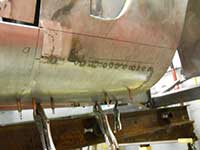
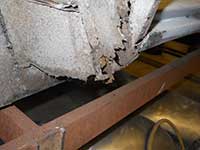
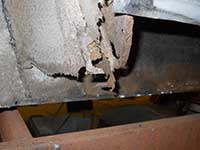
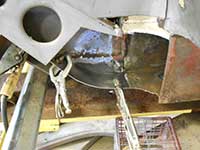
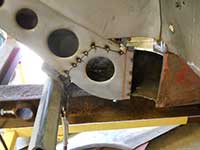
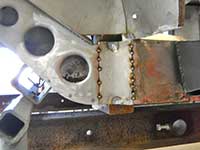
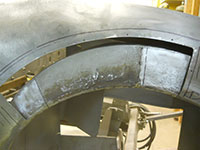
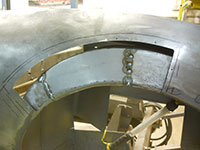
This group of 6 photos plus the left and right ones in the next group are of repairs to the rotted frame inside the right wheel well from start to finish. | 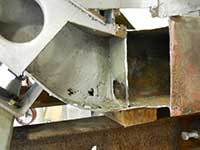 |
|
 |
 |
 |
 |
 |
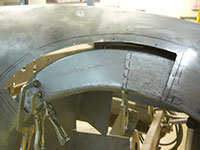
The bottom 4 photos show the reconstruction of the right rear inner wheel well and the repairs to the left rear fender wheel opening. | 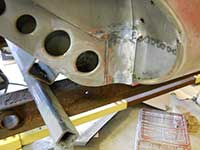 |
|
 |
 |
 |
 |
 |
In this group of 6 photos the left and right pictures show repairs to the rocker panels. The bottom 4 pictures show how we repaired the inner rear fender wells. | 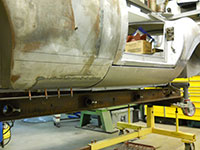 |
|
 |
 |
 |
 |
 |
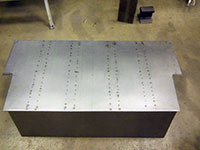
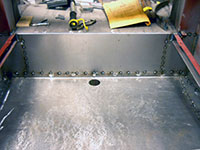
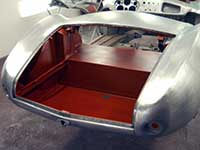
The photos left and right in this group show the trunk with the rotted floor removed and the newly fabricated trunk floor. The bottom 4 photos show the installation of the new trunk floor and riser. |  |
|
 |
 |
 |
 |
 |
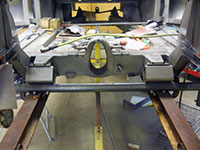
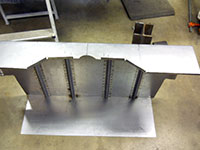
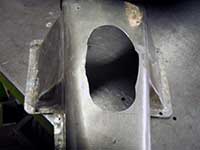
In this group of 6 photos the top left shows how we fabricated the trunk lock area. The top right photos shows repairs to the rear of the body. The bottom 4 photos show repairs done to the rotted away inner front wheel wells with the outer skin cut away. | 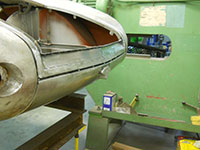 |
|
 |
 |
 |
 |
 |
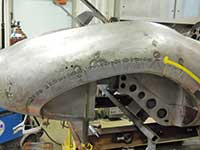
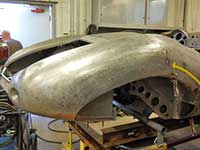
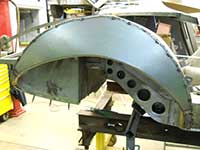
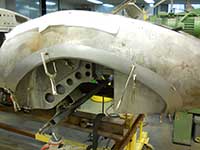
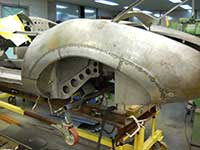
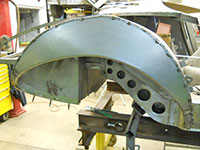
The top left and right photos in this group of 6 show the outer skin of the front fender being replaced. The bottom 4 photos show various repairs to the body and under trunk area. | 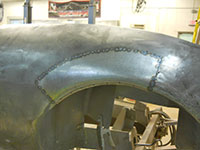 |
|
 |
 |
 |
 |
 |
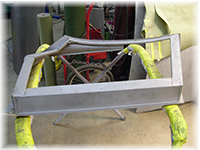
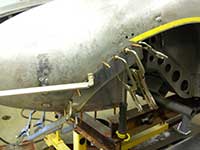
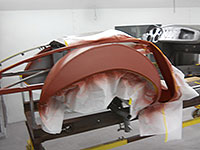
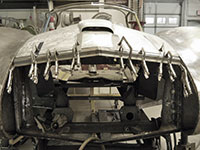
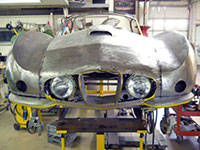
The top left and right photos in this group show repairs to the inside engine compartment behind the headlights. The bottom 4 photos show how the new sheet metal panels are fabricated and installed on the cars nose. |  |
|
 |
 |
 |
 |
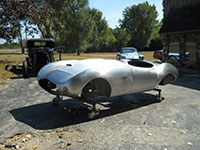 |
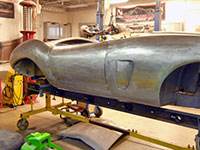
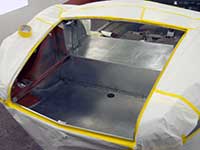
In this group the left and right photos show the car in bare metal, metal finished, ready for primer. The bottom left 2 photos show the trunk floor being masked off and primed. The last 2 photos show a ragged hole for the shift lever being welded shut. | 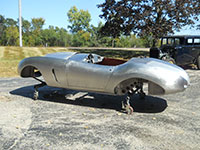 |
|
 |
 |
 |
 |
 |
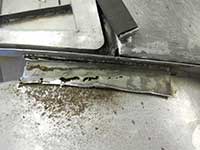
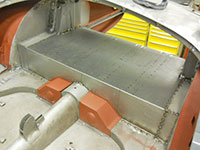
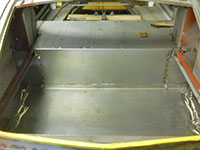
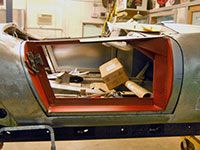
The picture on the left is of the old floors from the passenger compartment that were bent and severly rusted. The right photo shows the newly fabricated floor pans installed. | 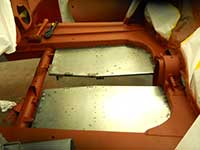 |
|
| ©All Rights Reserved Restorations Unlimited II, Inc. 2007 | |||