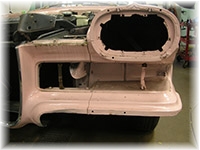
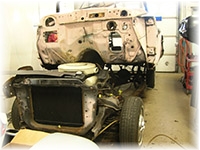
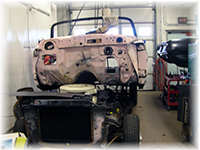
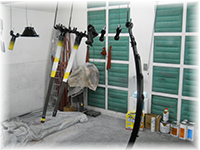
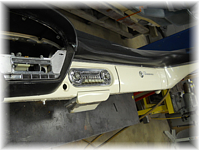
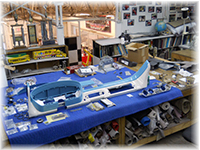
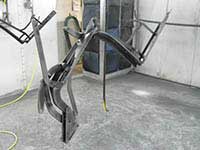
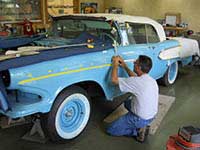
This car came to us as a complete driver but in need of much repair due to age and neglect. At this point the owner decided to do a frame-up restoration. The photos left and right show the car being carefully disassembled. The photo below left shows the pieces being carefully catalogued. The next photo from the bottom left shows the body removed and sent out to be stripped and de-rusted. The last 2 photos in this group show the hood and fenders removed to be dipped for de-rusting.
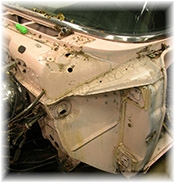
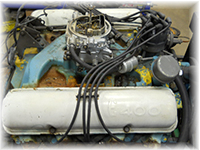
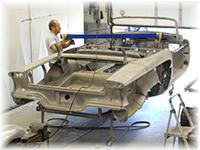
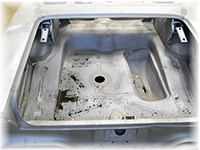
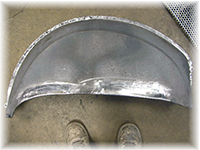
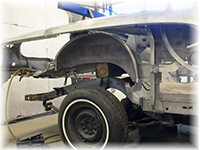
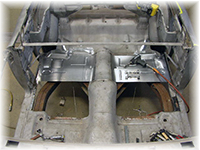
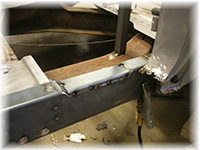
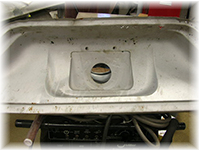
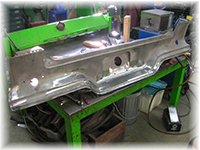
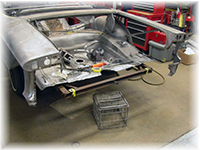
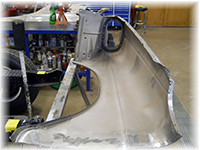
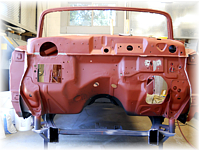
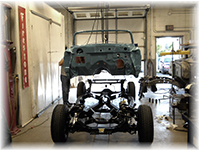
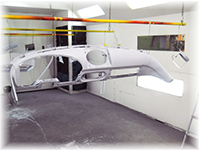
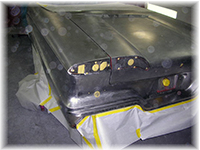
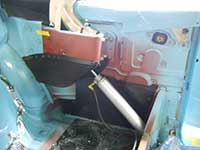
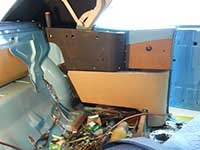
In this next group of 6 the top left photo is the body being removed from the chassis and the top right shows the original engine before disassembly. The bottom left one shows the body back from the stripper. The next 2 photos show the body being put back on the chassis to replace the floor pans and a photo of the rotten trunk floor. The last photo shows the repairs made to the rear wheelhouse.
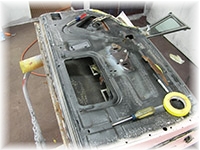
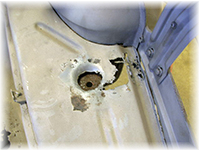
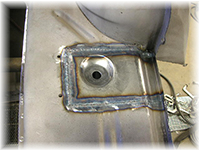
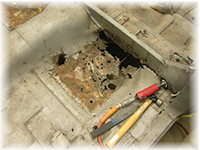
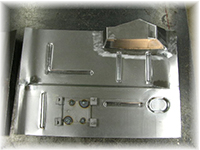
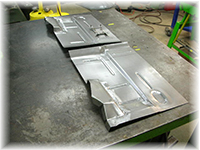
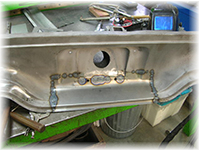
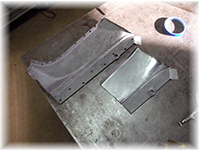
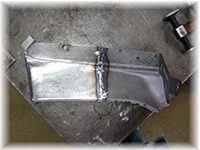
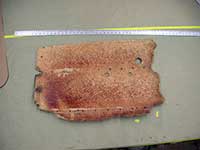
This next group of photos on the left shows repairs to the rotted trunk floor extensions and right shows the rotted body mount in the trunk. The bottom left photo shows the repaired body mount. The next 2 photos show the damage to the floors and the last photo shows the floor pans that we fabricated.
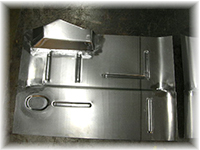
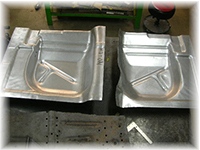
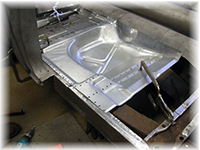
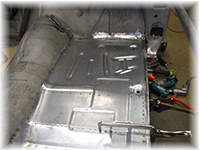
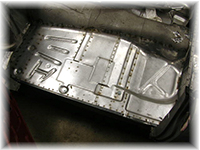
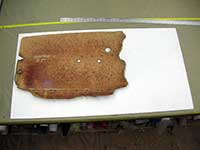
The photo left and right show the floor pans that we fabricated in our sheet metal department to replace the rear floor sections. The next photo bottom left show the panels set in place and ready to be welded. The next 3 photos show the reproduction floor pans being installed.
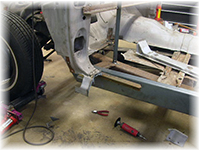
In this group the first 3 photos also show the reproduction floor pans being installed. The next 3 photos show damage and repairs to the rear valance.
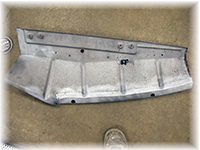
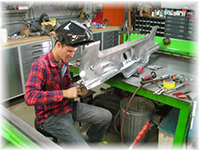
In this group on the left, Chris is welding, repairing the damage to the rear valance. The next 2 photos show those repairs. On the bottom of this group the last 3 photos show the custom fabricated patch panel for under the headlight, splicing of the patch panel to replace the rotted area and the panel installed.
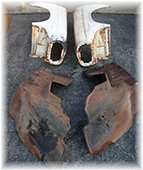
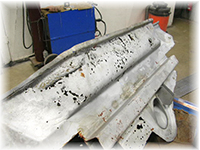
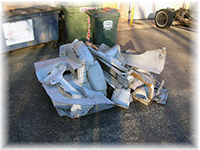
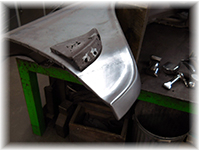
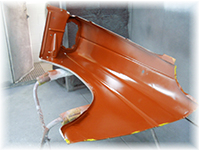
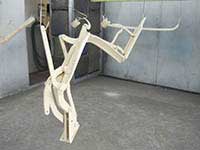
The photo on the left shows the pile of rotted parts cut off the body. The photo on the right shows the empty chassis ready for disassembly. The photos bottom row from left show the doors metal finished and being primed, the rotted lower portion of the front fender and its custom made patch panel welded, the metal finished patch panel and the right front fender being chemically cleaned before priming.
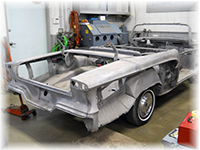
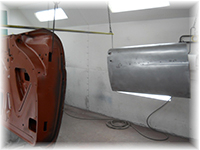
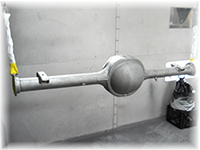
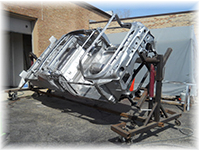
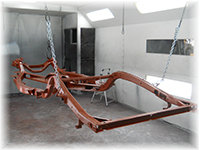
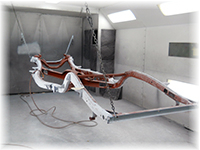
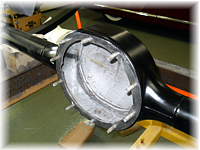
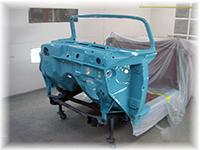
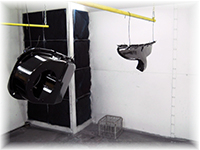
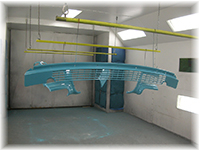
In this group of 6 photos the left one shows the right front fender primed inside. The right photo shows the differential stripped and de-rusted and ready for priming. The bottom left photo shows the chassis stripped, de-rusted and ready for priming. The next photo shows the body in bare metal ready for priming (the quarter panels will be installed after the body is set on the chassis). The last 2 photos show the chassis hung and in primer and the chassis in surfacer being sanded to remove imperfections.
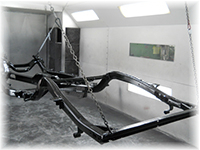
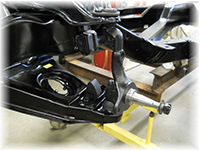
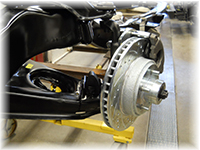
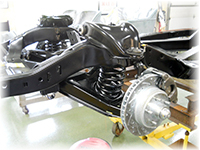
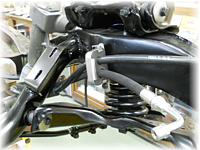
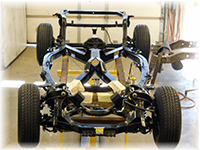
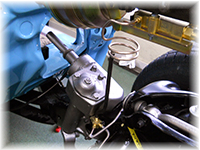
In this group of 6 photos the left and right show the chassis painted in OEM matte black and the differential in surfacer, sanded, ready for paint. The bottom left 2 photos show the front suspension ready for paint and the front suspension being assembled. The next photo shows the upgrade to 4 wheel disc brakes at the customers request. The last photo shows more chassis parts being painted.
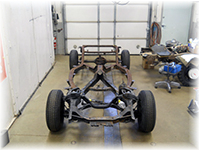
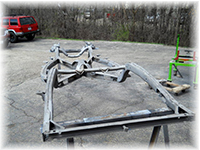
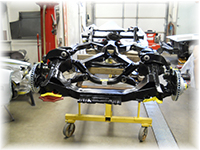
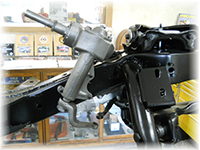
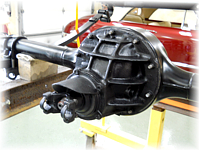
The left photo shows the chassis being assembled on the frame rack. The right photo shows the front suspension and coil springs assembled on the chassis. The photos from the left on the bottom show the re-built steering box being installed, all new power steering hoses, the differential painted and ready for assembly and the differential gears installed.
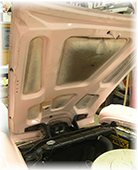
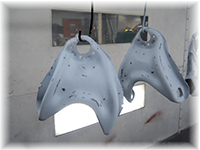
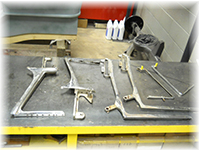
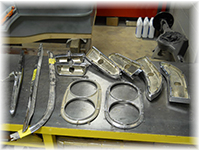
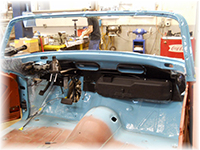
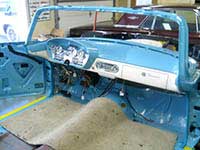
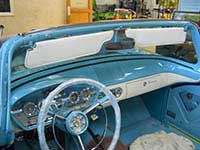
The photo on the left shows the firewall metal finished and primed. The right photo shows the dashboard ready for disassembly and restoration. The 4 photos below show the chrome pieces being straightened and readied for chrome plating.
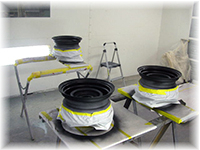
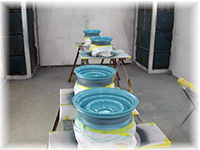
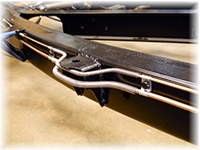
The 2 photos left & right show the cowl and rocker panels in primer, sanded and ready to be painted. The 2 photos below left show the wheels primed and painted. The next photo is the chassis awaiting the body and the last photo is showing hand formed brake and fuel lines.
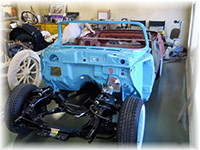
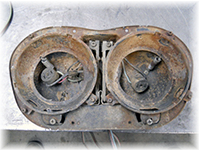
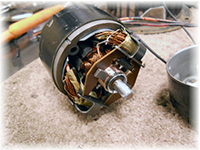
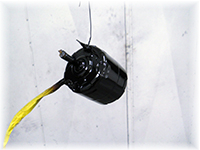
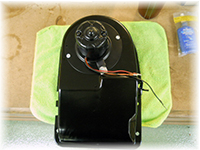
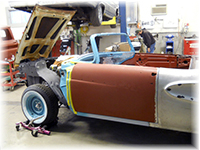
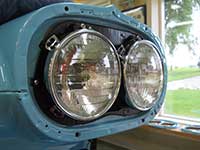
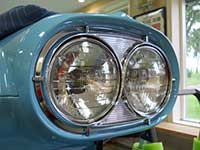
The photos left and right show the body being installed on the chassis and the body on the chassis. From left to right below is a view of the restored and installed steering box and brake lines, the original headlight buckets, the heater motor being restored and the heater motor painted.
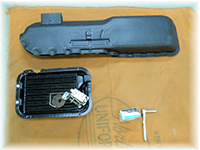
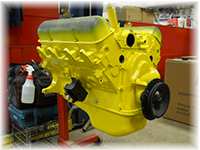
The left photo shows the gas tank restored and ready for installation. The photo on the right and below left show the heater components painted and assembled. The last 3 photos below show the dash board in primer and ready to be painted, the heater plenum painted and original heater core with restored temperature controls and the engine painted awaiting installation.
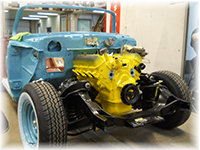
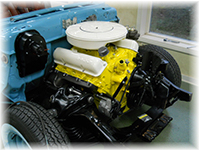
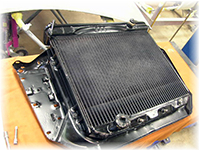
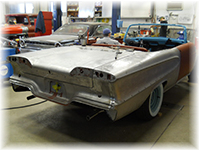
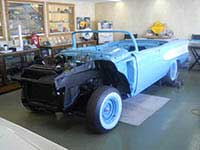
The left and right photos show the engine installed and ready to be "dressed" and then the engine "dressed."The 4 photos below from left to right show the radiator and core support ready for installation, the rear quarter panels & trunk lid being re-installed, the heater system installed in the cowl section and the drivers door installed to check alignment and gaps.
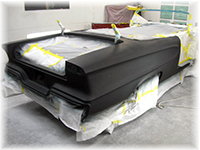
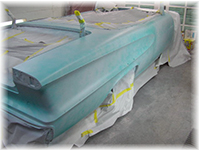
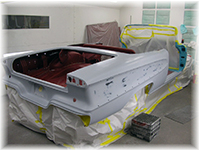
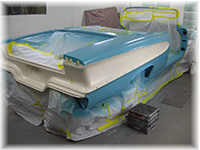
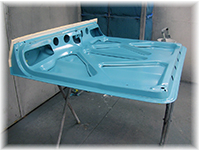
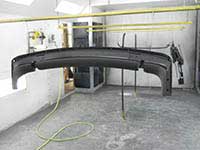
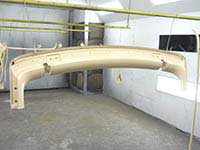
This group of 6 photos including the first photo in the next group show the back half of the body being primed and two-toned painted.
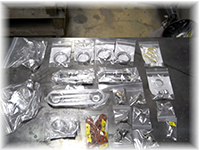
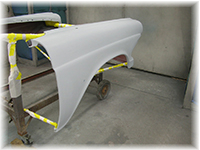
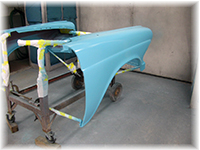
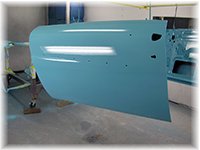
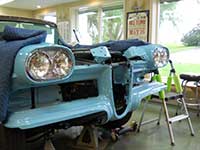
The photo to the right and the first left photo below show the front fenders primed and painted. The next photo shows the doors painted. The next photo shows the small trim pieces painted the body color which is horizon blue. The last photo in the group shows all the dashboard pieces ready to be assembled.
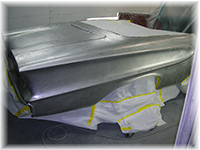
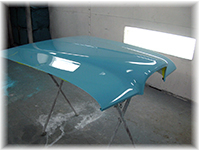
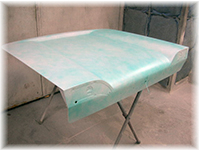
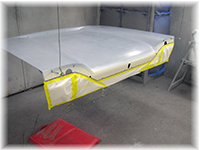
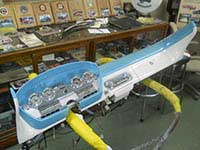
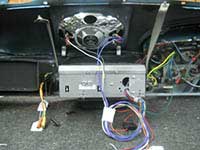
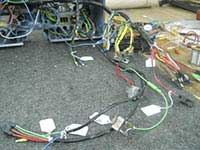
The left photo shows the hood painted. The photo to the right and the left 2 photos below show the trunk lid from bare metal to primer and painted. The next photo shows the engine compartment assembly. The four photos below those show the assembled dashboard ready to be installed, the back of the dashboard, the new wire harness and the dashboard installed.
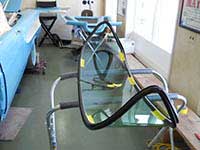
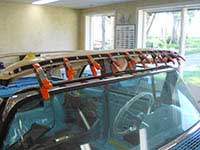
The photos left and right show the start of the body assembly and the steering restored, ready for installation. The four photos below show the convertible top irons being primed and painted.
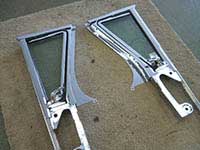
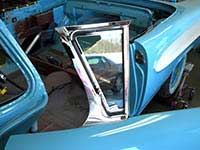
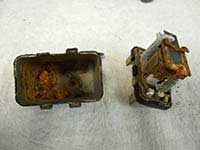
the photo left shows the newly chromed vent window assemblies and the photo right shows the drivers vent window installed. The first 2 photos below show the new windshield rubber seal installed on the new windshield glass and the new windshield installed. The last 2 photos in the group show the badly deteriorated shift relays that will be restored.
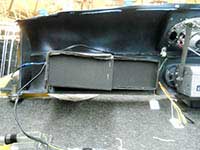
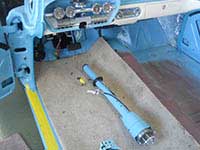
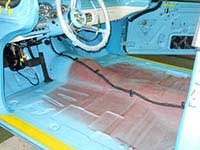
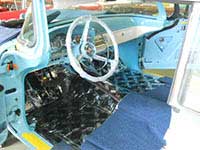
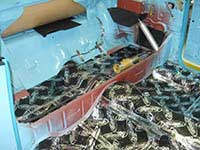
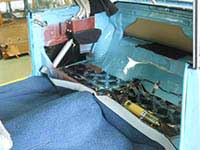
The photo left shows the wood tack strip installed on the header bow. The right photo shows the new sun visors installed. The first photo below shows the new body wire haness being run. The last 3 photos show the installation of dynamat sound deadener and carpeting being installed.
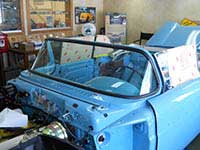
This group of 6 photos show the continuation of the body assembly and convertible top installation.
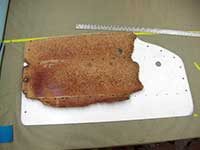
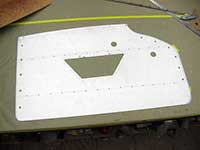
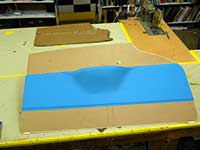
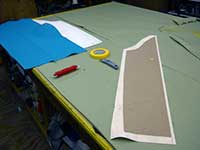
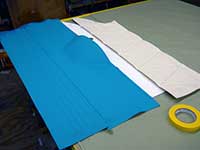
The photos left and right in this group of 6 show the rear seat interior panels created. The bottom left photo shows the only piece of the original door panel Ray had to work with. The next 3 photos show cutting the plastic to shape with the finished shape on the far right photo.
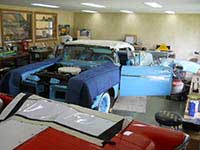
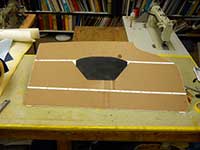
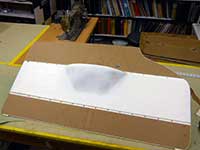
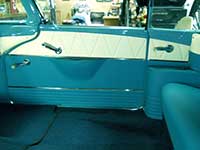
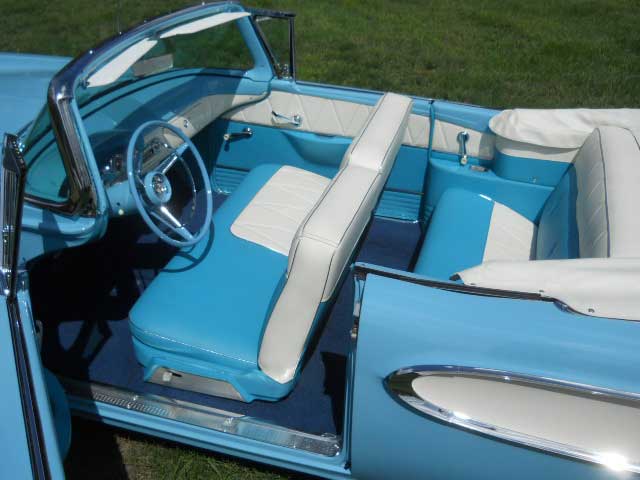
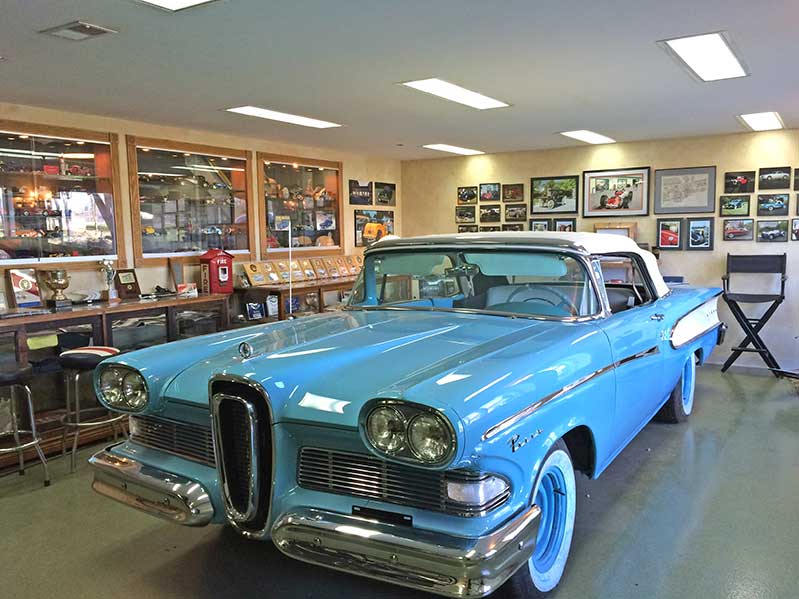
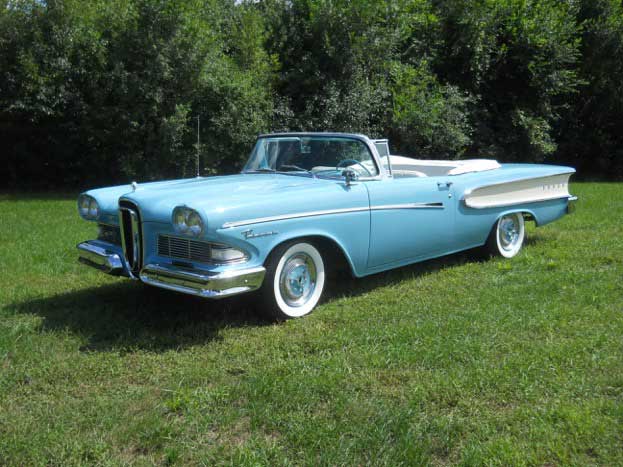
The photo left and right starts the upholstery process on the plastic panel using chipboard and foam. This was one of the more intricate and detail oriented upholstery projects done in the shop. The 4 photos below show the vinyl applied to the door panels and arm rest. The 3 photos below that are the finished interior and exterior of the car.